On This Page
- Grow a Garden Mutations Calculator
- The Five Mutation Categories
- How Mutation Stacking Actually Works
- Grow a Garden Mutation Multipliers, Ranked
- Fused Mutations Explained
- The Amber Aging Chain and Other Special Mechanics
- Mutation Compatibility and Exclusivity Rules
- Reading a Mutation Name to Guess Its Category
- How to Get Specific Mutations
- Building a Mutation Stacking Strategy
- Weight and Its Effect on Mutated Value
- Mutations and Trading Value
- Common Grow a Garden Mutations Calculator Mistakes
- Frequently Asked Questions
What Are Grow a Garden Mutations?
Grow a Garden mutations are the value multipliers applied to a crop when it’s harvested, and they’re the single biggest factor separating a farm earning a few thousand Sheckles a session from one earning millions. A mutation doesn’t change what a crop is — it changes how much that crop is worth, sometimes by a factor of a hundred or more, triggered by weather conditions, specific pet abilities, fusion between other mutations, or limited-time events rather than anything the player directly controls at the moment of harvest.
With well over 150 confirmed mutations now in the game across five distinct categories, and new ones still being added on an ongoing basis, trying to track every multiplier and stacking interaction by hand is no longer realistic. That’s exactly the gap a Grow a Garden mutations calculator closes: plug in a crop’s base value, weight, and whichever mutations it’s carrying, and get an accurate final Sheckle value instead of guessing.
This guide covers what mutations actually are, all five categories they fall into, the real stacking formula (not the oversimplified version that circulates in a lot of guides), how fusion combines mutations into stronger ones, and how to build a farming session around whichever mutation source is currently available. If you’ve read a simplified explanation elsewhere that treats every mutation as a straight multiplication chain, this guide corrects that specific misconception with worked examples showing exactly where and why it breaks down once more than one environmental mutation is involved.
Grow a Garden Mutations Calculator
Our Plant Value Calculator handles the full mutation math directly — enter your crop, its weight, and up to five mutations, and it returns the real Sheckle value using the correct stacking formula rather than a simplified approximation.
How To Use The Mutations Calculator
- Select your crop. This sets the base Sheckle value the rest of the math builds on.
- Enter its weight. Heavier crops sell for more before mutations even enter the picture, since weight scales value on its own.
- Choose a Variant, if any. Gold, Silver, and Rainbow occupy the same slot and are mutually exclusive — you can only apply one per crop.
- Add Environmental, Pet-Applied, or Fused mutations. Crops can carry multiple of these simultaneously, though some combinations replace each other rather than stacking side by side (covered below).
- Get your final value. The calculator applies the correct additive-then-multiply stacking logic automatically, which matters far more here than with most other Grow a Garden systems — see below for why.
The Five Mutation Categories
Every mutation in the game falls into one of five structural categories, and knowing which one you’re looking at tells you immediately how it behaves.
Variant mutations — Gold, Silver, and Rainbow — occupy a single, exclusive slot on a crop. A crop can only ever carry one of these three at a time. Gold and Rainbow can each occur naturally as the crop grows (a small percentage chance), and specific pets or fertilizers can raise those odds.
Environmental mutations are triggered by weather and world conditions — Wet from rain, Chilled from frost, Shocked from thunderstorms, and dozens more. Multiple environmental mutations can be present on the same crop at once, and this is the category where the stacking math actually gets interesting.
Pet-Applied mutations come from a specific pet’s ability rather than the weather — Kitsune applying Chakra, Raptor applying Amber, Golden Goose applying Fortune, and many others. Some of these overlap conceptually with environmental triggers but are listed as pet-applied when a pet is the primary or exclusive source.
Fused mutations are a distinct fourth category: when two specific compatible mutations are present together, they combine into a single new, stronger mutation that replaces both components. Frozen, Abyssal, and Astral are all fused mutations rather than mutations you can trigger directly.
Limited & Event mutations are only available during specific admin-run events, seasonal content, or from limited pets and gear — some return periodically, others are one-off. These tend to sit at the higher end of the value scale precisely because they’re the hardest to access on demand.
Pet-Applied Mutations in More Detail
This category is worth its own closer look, since it’s the one most directly tied to which pets you’re actually running. Beyond Kitsune’s Chakra line and Raptor’s Amber, a wide range of pets each unlock their own distinct mutation: Golden Goose applies Fortune, Griffin applies Cyclonic, a Phoenix pet applies Flaming, and a Spriggan pet applies Bloom. Some pets even apply mutations exclusively tied to a specific crop interaction — a Mandrake pet, for instance, only applies its Rot mutation when harvesting an actual Mandrake crop. Several of these pet-applied mutations also age or upgrade further under specific conditions, similar in spirit to the Amber chain covered below, which rewards knowing exactly which pet you’re running rather than just its general rarity tier.
Limited & Event Mutations in More Detail
Event mutations are where the game’s biggest seasonal moments leave a lasting mark on the economy. Corrupt and Tranquil are both tied to Zen-themed event content and the pets that came with it. Disco, at a substantial multiplier, ties directly into Disco Bee’s ability and several recurring party-themed weather events. Galactic requires a Space Travel or Supernova-style admin event to appear at all, and it’s also a required ingredient for Astral, the game’s current highest fused mutation — meaning some of the most valuable fusions are only reachable at all during specific limited windows, not through regular play.
How Mutation Stacking Actually Works
This is the part where a lot of casual guides get it wrong, so it’s worth walking through carefully. The community-verified formula, cross-checked against the game’s own wiki, is:
Final Multiplier = Variant × (1 + ΣEnvironmental − Count of Environmental Mutations)
In plain terms: environmental mutations don’t multiply against each other directly. Their individual multipliers are added together, that sum has the count of mutations subtracted back out (so a single mutation on its own reduces to just its own multiplier), and then the result gets multiplied once by whatever Variant is active.
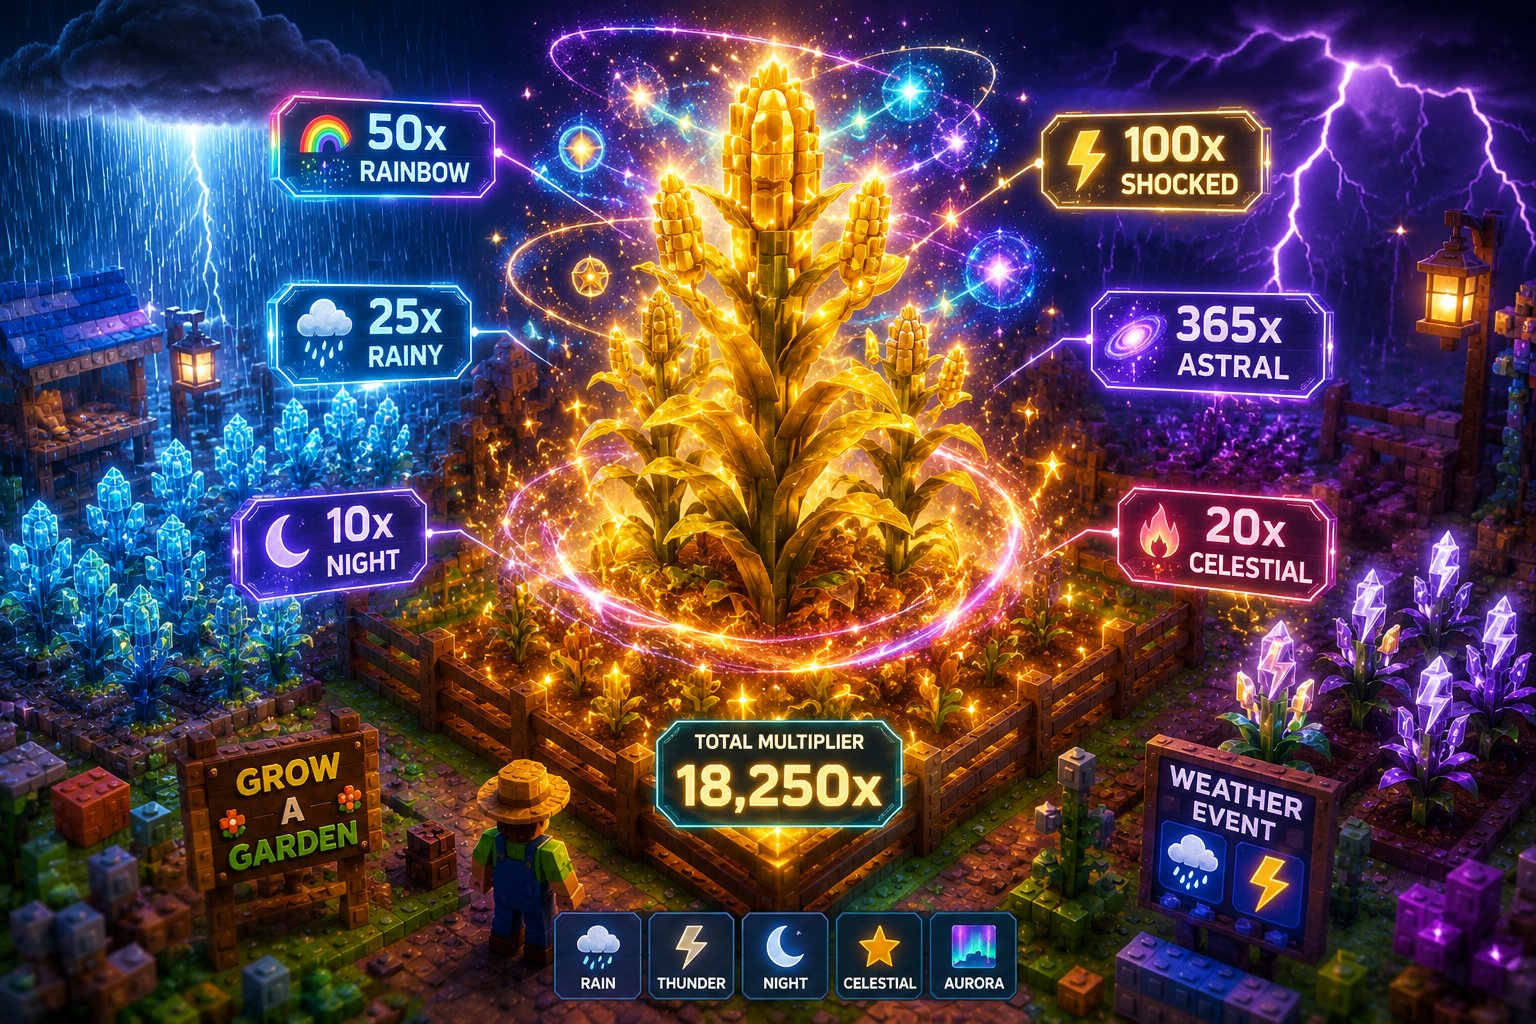
Here’s why this distinction actually matters in practice. With exactly one environmental mutation, the formula quietly collapses to something that looks identical to straight multiplication — which is exactly why so many simplified guides get away with claiming “everything just multiplies together” using a two-mutation example. A Rainbow (50x) crop with Shocked (100x) does come out to 50 × 100 = 5,000x either way. But add a second environmental mutation, and the two approaches diverge hard. Add Disco (125x) to that same crop, and the correct formula gives 50 × (1 + 100 + 125 − 2) = 50 × 224 = 11,200x — nowhere near the 625,000x that naively multiplying three numbers together would suggest.
This gap only grows as more environmental mutations pile onto the same crop, which is precisely why a calculator built around the correct formula matters so much more here than in most other parts of the game — a guide or a mental estimate based on pure multiplication will overstate a real stack’s value by orders of magnitude once three or more environmental mutations are involved. It’s a genuinely counterintuitive result the first time you see it laid out, and it’s the exact reason this specific system trips up more experienced players than almost any other part of the game’s economy.
Worked Stacking Examples
Walking through a few concrete cases makes the formula click faster than the abstract version alone.
Two mutations, one variant: A Rainbow-variant crop (50x) carrying only Shocked (100x) as its environmental mutation comes out to 50 × (1 + 100 − 1) = 50 × 100 = 5,000x. This is the case where the additive formula and simple multiplication happen to agree, which is exactly why so many oversimplified guides only ever show an example like this one.
Three mutations, one variant: Take that same Rainbow crop and add Celestial (120x) alongside Shocked (100x) as a second environmental mutation. The environmental sum becomes 100 + 120 = 220, minus the count of 2, giving 219. Multiply by the 50x variant: 50 × 219 = 10,950x — nowhere close to the 600,000x that multiplying 50 × 100 × 120 directly would suggest.
Four mutations with a fusion in play: Suppose Wet and Chilled are both present on a crop at the same time — rather than adding as two separate environmental entries, they immediately fuse into Frozen (10x), which then occupies a single slot in the environmental sum alongside whatever else is present. Add Voidtouched (135x) on top and keep the Rainbow variant: the environmental sum is 10 + 135 = 145, minus 2, giving 144, multiplied by 50x for a final 7,200x. Notice the fusion reduced two mutations down to one entry in the sum — planning around fusion recipes changes not just which mutations are present, but how many terms the additive formula is actually working with.
Grow a Garden Mutation Multipliers, Ranked
The multiplier values below are consistent with current wiki-cross-referenced data and safe to treat as reliable reference points.
| Mutation | Category | Multiplier |
| Wet | Environmental | 2x |
| Chilled | Environmental | 2x |
| Moonlit | Environmental | 2x |
| Windstruck | Environmental | 2x |
| Sandy | Environmental | 3x |
| Pollinated | Environmental | 3x |
| Aromatic | Environmental | 3x |
| Cracked | Environmental | 4x |
| Bloodlit | Environmental | 4x |
| Gold | Variant | 20x |
| Silver | Pet-Applied | 5x |
| Bloom | Pet-Applied | 8x |
| Rainbow | Variant | 50x |
| Amber | Pet-Applied | 10x |
| Chakra | Pet-Applied | 15x |
| Fortune | Pet-Applied | 50x |
| Twisted | Environmental | 5x |
| Arid | Environmental | 6x |
| Acidic | Environmental | 12x |
| Sundried | Environmental | 85x |
| Aurora | Environmental | 90x |
| Shocked | Environmental | 100x |
| Celestial | Environmental | 120x |
| Voidtouched | Environmental | 135x |
| Disco | Limited/Event | 125x |
| Galactic | Limited/Event | 120x |
| Frozen | Fused | 10x |
| Ceramic | Fused | 32x |
| Corrosive | Fused | 40x |
| Blazing | Fused | 52x |
| Abyssal | Fused | 240x |
| Cosmic | Fused | 240x |
| Astral | Fused | 365x |
Treat “Astral at the very top” as a current snapshot rather than permanent — with the mutation roster still growing and fusion recipes occasionally getting added, a new highest multiplier can ship in any given update. Checking a live calculator beats memorizing any static ranking.
Fused Mutations Explained
Fusion is the mechanic most players miss entirely, and it’s responsible for nearly every mutation above the 150x mark. When two specific, compatible mutations are present on the same crop at the same time, they combine automatically into a single new mutation — and critically, that fused result replaces its two components rather than sitting alongside them.
A few examples show how this chains together. Wet (or Drenched) combined with Chilled fuses into Frozen. Eclipsed combined with Voidtouched fuses into Abyssal. Celestial combined with Aurora fuses into Cosmic. At the very top of the chain, Cosmic combined with Galactic fuses into Astral — the highest confirmed multiplier in the game, and one that requires deliberately building up two separate fusion chains first before they can combine a third time.
Because fusion consumes its ingredients, chasing a top-tier fused mutation means planning which environmental and event triggers you need active simultaneously, not just collecting them one at a time. This is a fundamentally different kind of planning than farming for a single environmental mutation, and it’s exactly the kind of multi-step math a calculator handles far more reliably than doing it by memory mid-session.
The Amber Aging Chain and Other Special Mechanics
Not every mutation is locked in permanently at its starting value. Amber — applied by Raptor’s ability, among other sources — starts at a 10x multiplier, but if the crop is left unharvested, it ages into OldAmber at 20x after roughly 24 hours, and then into AncientAmber at 50x after another 48 hours on top of that. This is one of the only mutations in the game that quietly grows in value purely by leaving a crop planted rather than through any additional action, which makes deliberately holding an Amber-mutated crop worth real consideration if you’re not in a rush to sell.
A small number of other mutations follow similar aging or conditional-growth patterns, though Amber’s chain is the most well-documented and the most commonly farmed deliberately.
Don’t Confuse This With Pet Mutations
It’s worth a clear callout here since the naming overlap trips up a lot of players: everything covered in this guide applies to crop mutations. Pet Mutations are a completely separate system covered in more depth in this site’s pet guides — they permanently upgrade a pet’s own ability once that pet clears level 50, typically through a dedicated Mutation Machine rather than anything tied to weather or crops at all. Some pet mutations, like a pet gaining a Shocked or Frozen variant of its own ability, share a name with a crop mutation from this guide, but the two systems don’t interact directly — a pet’s mutation changes what that pet’s ability does, not the crop mutation math covered above.
Mutation Compatibility and Exclusivity Rules
Beyond the Variant slot’s single-mutation restriction, several other mutations actively remove or block each other rather than simply stacking. Frozen, once fused into existence, removes both Wet and Chilled from the crop, since they’ve effectively been consumed into the new mutation. Similarly, certain higher-tier fused mutations remove their own specific component mutations once formed. This means the order in which mutations land on a crop can matter — triggering a fusion too early can lock out a different combination you might have been aiming for instead.
Before assuming two mutations will simply add together on the same crop, it’s worth checking whether either one is a known fusion ingredient elsewhere, since that’s the most common reason an expected stack doesn’t behave the way a simple additive read would suggest.
Reading a Mutation Name to Guess Its Category
With well over 150 named mutations in the game, you’ll inevitably run into one this guide doesn’t cover by name. A few patterns help narrow down what you’re looking at even without checking a full list. Names tied directly to a weather phenomenon — Windstruck, Sandy, Twisted, Acidic — are almost always Environmental, triggered by the matching weather condition. Names that sound like a material or process applied after the fact — Ceramic, Sizzled, Glossy — are frequently Fused, since fusion recipes often reference what the combination visually resembles rather than either original ingredient. Names tied to a specific creature or character rather than a weather condition — Chakra, Graceful, Cyclonic — are typically Pet-Applied, since they’re named after or thematically linked to the pet whose ability produces them. Names tied to a clear one-off spectacle — Alienlike, Beanbound, Touchdown — are almost always Limited or Event mutations, restricted to whatever specific occasion introduced them.
This isn’t a perfect system, and checking a current calculator or wiki entry is always more reliable than guessing from the name alone, but it’s a useful first read when you’re trying to quickly place an unfamiliar mutation into the right mental bucket before deciding whether it’s worth chasing.
How to Get Specific Mutations
Weather-triggered mutations are the most accessible entry point — Wet, Chilled, Frozen, and Shocked all occur naturally during in-game weather events like rain, cold snaps, and thunderstorms, making them the easiest starting point for a new player learning to stack. Sprinklers and other placeable gear can trigger several of these same mutations on demand, which is generally the more reliable route for a player who doesn’t want to wait on the natural weather rotation. Pet-applied mutations come from specific pet abilities rather than weather — Kitsune’s Chakra and Foxfire Chakra procs, Raptor’s Amber proc, and Golden Goose’s Fortune mutation are all examples covered in more depth in this site’s dedicated pet abilities guide. Limited-event mutations are tied to seasonal or admin-run content — Blood Moon nights, in particular, are widely considered one of the strongest farming windows in the game, both for the mutations it unlocks and for a broader, temporary boost to mutation odds across the board during the event itself.
Sprinklers deserve a specific mention here since they’re the single most controllable mutation source in the game. Unlike weather, which follows its own rotation regardless of what a player wants, placing the right sprinkler lets you trigger a specific environmental mutation on your own schedule — turning what would otherwise be a waiting game into something closer to an active decision. Pairing a couple of different sprinkler types on the same plot is one of the more reliable ways to guarantee at least two environmental mutations land together, which matters given how much the additive stacking formula rewards having more than a single mutation active at once.
Each source tier roughly maps to how reliable it is versus how strong the payoff tends to be. Weather-triggered mutations are the most predictable — you can plan around a forecast — but they also sit toward the lower end of the multiplier scale. Pet-applied mutations trade some of that predictability for meaningfully higher multipliers, and they scale further with the pet’s own weight and level, tying directly into this site’s pet weight and ability guides. Event-limited and fused mutations sit at the top of the value scale but are the least reliable to plan around, since they require specific windows and specific combinations rather than being available on demand.
Building a Mutation Stacking Strategy
Rather than chasing whichever mutation sounds most impressive, the strongest approach is matching your farming session to whichever source tier is currently active, while keeping fusion recipes in mind before you commit to a plan. During a normal weather rotation, prioritize stacking multiple weather-triggered mutations on your highest-weight crops rather than waiting idle for something rarer — but check first whether two of those mutations happen to be fusion ingredients, since letting them combine might not be what you actually want if you were hoping to stack them separately. When a pet with a strong mutation-applying ability is fed and active, prioritize keeping it running continuously rather than letting its cooldown sit unused, since a missed proc window doesn’t come back. During a Blood Moon or similar event window, shift your entire session around that event specifically, since the temporary odds boost and any exclusive mutations it unlocks are far more valuable than a normal session’s output.
The crops worth this level of planning are the ones that combine high base rarity with a strong weight roll already — stacking a rare mutation onto a low-value, lightweight crop still produces a real gain, but stacking the same mutation onto your single best crop of the session is where the actual endgame Sheckle totals come from.
For players specifically chasing a high-value fused mutation, planning has to work backward from the target. Wanting Abyssal means deliberately arranging for Eclipsed and Voidtouched to be active on the same crop at the same time, which usually means coordinating a Solar Eclipse weather window with either a Black Hole event or an equipped Space Squirrel actively proccing. Wanting Astral is a multi-stage project on top of that — it requires first building Cosmic (itself a fusion of Celestial and Aurora) and separately arranging Galactic through a Space Travel or Supernova event, then getting both active on the same crop before they combine a third time. This kind of planning rewards patience and coordination with other active weather/event windows far more than it rewards simply harvesting quickly.
Weight and Its Effect on Mutated Value
Mutations don’t operate in isolation — a crop’s weight scales its value independently, before mutation multipliers even apply. A heavier crop of the same species and same mutations is worth more than a lighter one, which means chasing a high-weight roll matters just as much for crop value as it does for pet ability strength, covered elsewhere on this site. Practically, this means the single most valuable crops in the game combine three things at once: a high base rarity, a heavy weight roll, and a strong mutation stack — miss any one of the three and the final Sheckle value drops off substantially compared to a crop that nails all three.
Mutations and Trading Value
Mutations don’t just affect what a crop sells for at your own stall — they’re one of the biggest drivers of trading value covered elsewhere on this site. A heavily mutated crop or a pet capable of reliably applying a strong mutation both carry real trading premiums, since other players value the ability to reproduce that outcome, not just the single harvested result in front of them. This is exactly why pets like Kitsune, Raptor, and Golden Goose — all covered in more depth in this site’s pet abilities guide — carry such outsized trading value relative to their base rarity: their entire worth is tied to the specific mutation they reliably apply, not the pet itself.
When you’re checking whether a trade involving a mutated crop or a mutation-applying pet is fair, running the numbers through both the Plant Value Calculator and the WFL Trade Checker gives a far more complete picture than eyeballing rarity alone.
Common Grow a Garden Mutations Calculator Mistakes
Assuming every mutation multiplies straight through against every other one is the single most common and most costly mistake — environmental mutations actually stack additively before the variant multiplier is applied, and treating the math as pure multiplication overstates a real stack’s value by orders of magnitude once three or more environmental mutations are involved. Confusing Variant and Environmental mutations is a close second, since trying to stack Gold and Rainbow together simply isn’t possible — they share one exclusive slot. Overlooking fusion is a third major gap: not realizing that two mutations you’re farming for will actually combine into something else the moment both are present means you can accidentally lock yourself out of the separate stack you were aiming for. Ignoring weight is a fourth issue, since two crops with identical mutations can still differ enormously in value if their weight rolls differ. And relying on a static, months-old mutation list is a mistake specific to this system in particular — with new mutations and fusion recipes landing regularly, a list that was accurate a few patches ago can already be missing the game’s current highest multiplier.
One more subtle mistake is worth calling out: assuming that because two mutations belong to different categories (say, one Environmental and one Pet-Applied), they must be handled by entirely separate math. In practice, most mutations that land on a crop simultaneously all feed into the same additive environmental bracket regardless of which category produced them — the category label mostly describes the acquisition method, not a guaranteed separate calculation path. Don’t assume category alone tells you how something stacks; when in doubt, run it through the calculator rather than assuming based on category name.
Frequently Asked Questions
What are mutations in Grow a Garden? Value multipliers applied to a crop at harvest, triggered by weather, specific pet abilities, fusion between other mutations, or limited-time events, that dramatically increase the crop’s Sheckle value.
How many mutations can one crop have? There’s no simple fixed number — a crop can carry one Variant mutation alongside multiple Environmental, Pet-Applied, or Fused mutations, though some combinations replace each other rather than stacking side by side.
Do mutation multipliers add together or multiply? Neither in isolation — environmental mutations sum together, that sum is adjusted for how many mutations are present, and the result is then multiplied once by whatever Variant is active. Treating it as pure multiplication badly overstates value once several mutations stack.
What’s the difference between a Variant and an Environmental mutation? Variant mutations (Gold, Silver, Rainbow) occupy one exclusive slot per crop and multiply the final result; Environmental mutations are a separate pool that sum together before that multiplication happens.
What is a fused mutation? A new, stronger mutation created automatically when two specific compatible mutations are present on the same crop at once — the fused result replaces both original mutations rather than sitting alongside them.
What is currently the highest mutation multiplier in Grow a Garden? Astral, a fused mutation built from two other fusion chains, is consistently cited as the highest currently confirmed — though with the roster still growing, this is worth reconfirming against a current source rather than treated as permanent.
Does crop weight affect mutated value? Yes — weight scales a crop’s value independently of mutations, so two crops with identical mutations can still differ significantly in final value based on their weight roll.
What is the Amber aging chain? Amber starts at a 10x multiplier but grows to 20x after roughly 24 hours left unharvested, and to 50x after another 48 hours beyond that — one of the few mutations that increases in value purely by waiting.
What’s the best time to farm for rare mutations? Blood Moon nights are widely considered one of the strongest windows in the game, both for exclusive mutations and for a temporary boost to overall mutation odds during the event.
Are new mutations added often? Yes — the mutation count has grown steadily over recent months, with new environmental, pet-applied, and fusion mutations landing on an ongoing basis tied to specific updates and events.
Can a fused mutation be undone or reversed? No — once two component mutations combine, the fusion replaces them permanently on that crop. There’s no way to split a fused mutation back into its original parts.
Why did my two mutations turn into a completely different one? That’s fusion — certain specific pairs of mutations automatically combine into a new, stronger mutation the moment both are present together, replacing the two originals rather than sitting alongside them.
Is it better to farm many weak mutations or one strong one? It depends on the target multiplier, but because environmental mutations sum before the variant multiplies the total, several mid-tier environmental mutations stacked together can meaningfully outperform chasing one rare mutation in isolation — running the numbers through a calculator is the only reliable way to compare the two approaches for a specific crop.
Do Pet-Applied mutations count toward the Environmental sum in the stacking formula? Functionally, yes — most Pet-Applied mutations occupy the same additive bracket as weather-triggered Environmental ones once they land on a crop; the category label mainly describes how the mutation is obtained, not a separate math bracket.
A Quick Recap Before You Calculate
Five categories, one formula, and one mechanic most guides skip entirely — that’s the core of everything above. Variant, Environmental, Pet-Applied, Fused, and Limited/Event mutations each behave slightly differently, but only the Variant slot is truly exclusive; everything else can, in principle, contribute to the same crop. The stacking math itself sums Environmental-bracket mutations together before the Variant multiplies the total, which is a meaningfully different result than treating every multiplier as part of one long multiplication chain — the gap between the two approaches gets larger, not smaller, as more mutations pile onto a single crop. Fusion adds a further layer on top of all of this, quietly consuming two mutations and replacing them with one stronger entry the moment both are present, which changes not just the value but the actual number of terms the stacking formula is working with.
None of this needs to be memorized in full to farm effectively. Knowing the five categories, recognizing when a fusion recipe might trigger, and running the actual numbers through a calculator before assuming a stack’s value covers the vast majority of situations a player will realistically run into.
Check Your Crop’s Real Value Now
Enter your crop, its weight, and its mutations into the Plant Value Calculator to see its true Sheckle value using the correct stacking formula — before you sell or trade it.