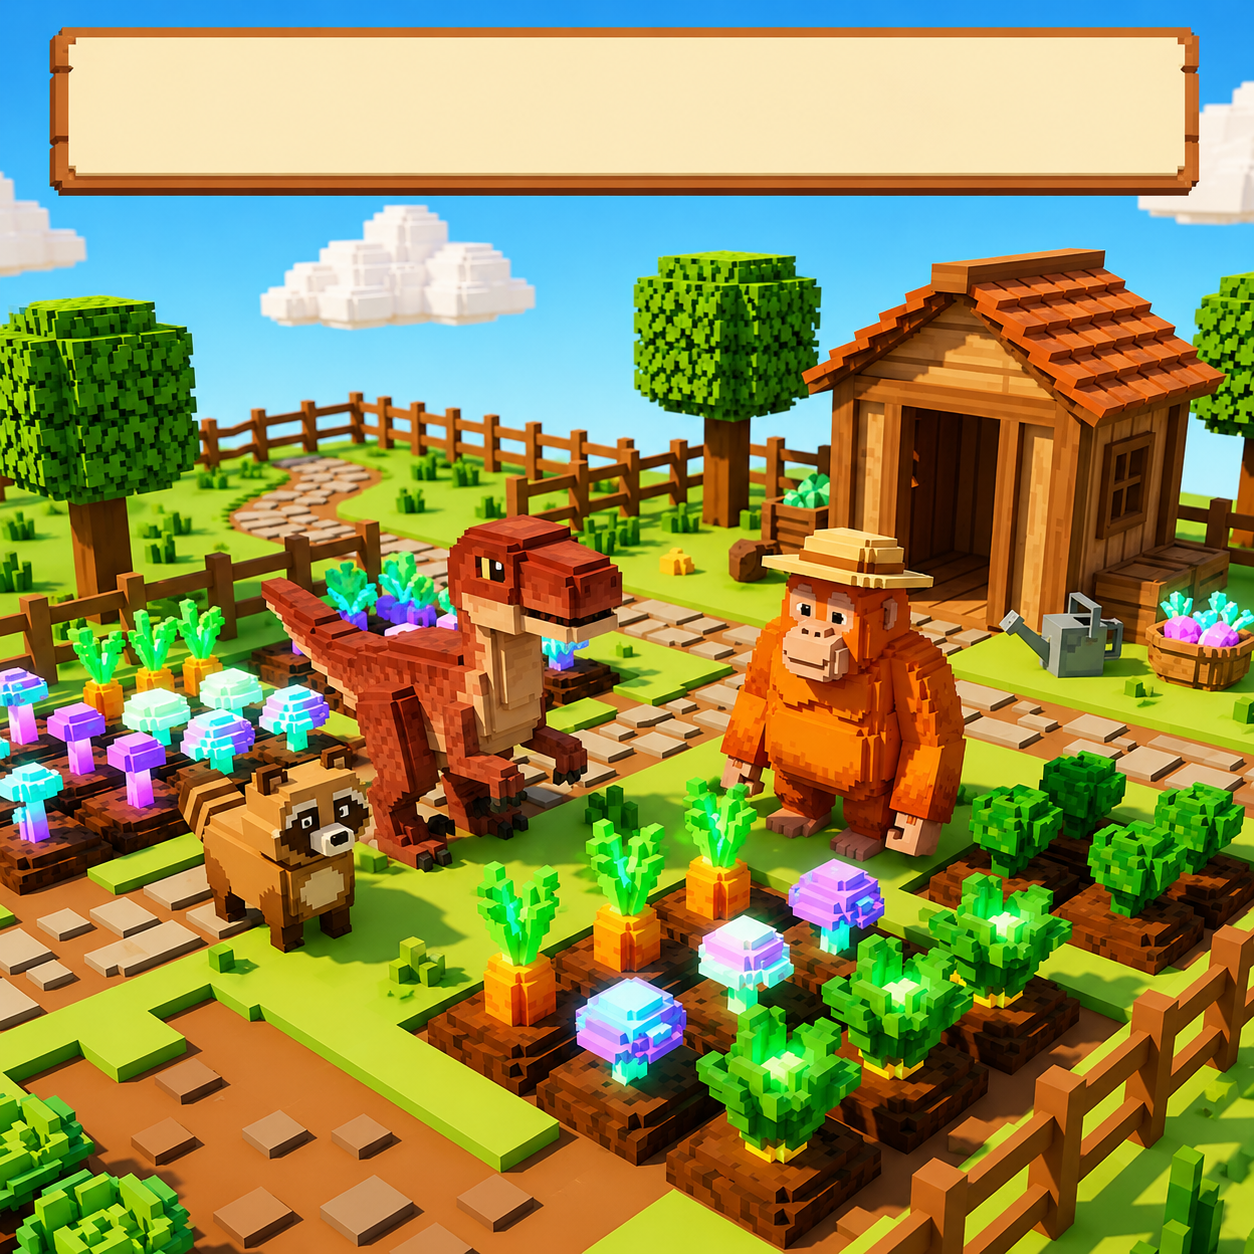
Grow a Garden pets are the single biggest passive-income engine in the game. A well-built farm without the right pets is leaving Sheckles on the table — every duplication chance, every mutation odds boost, and every growth-speed buff in the game comes from something standing in your garden, not from the crops themselves. Developer Jandel and the Splitting Point Studios team, with contributions from BMWLux, have pushed the pet roster past 120 unique pets across eggs, events, and chests, and figuring out which ones actually matter can feel overwhelming fast.
Each pet’s passive ability is officially called a trait — the community and this guide use “ability” and “trait” interchangeably, so don’t be thrown off if you see both terms used for the exact same thing. This guide breaks down exactly how the pet system works — rarity, weight, aging, traits, and pet mutations — then walks through a tier-list overview plus detailed profiles of some of the game’s most-searched pets: Orangutan, Raptor, Tanuki, Stegosaurus, and Kodama, along with a look at a few crops players often search for right alongside them. Whether you’re deciding which egg to hatch next or trying to understand why your Raptor isn’t proccing as often as a friend’s, everything you need is below.
How Do Grow a Garden Pets Work?
Every pet starts life as an egg. You hatch eggs from the Pet Shop, earn them from events, or receive them as chest rewards, and once hatched, the pet is automatically added to your collection and ready to equip. New players start with three pet slots, and that number can be expanded up to eight total slots as you progress — meaning a fully built account can run eight passive abilities simultaneously.
Equipped pets need to eat to stay active. Each pet has a hunger capacity the Triceratops, for example, has a hunger capacity of 40,000 and once that meter runs out, the pet stops working until it’s fed again. This is easy to overlook, especially on pets left running while you’re offline, so checking hunger levels regularly is worth building into your routine if you’re relying on a pet’s passive ability throughout the day.
Abilities themselves fall into a few broad categories: mutation-chance boosters (like Raptor’s Amber proc or Kodama’s Tranquil proc), growth-speed boosters (like Triceratops), duplication effects (like Stegosaurus), crafting-material savers (like Orangutan), and multi-effect utility pets (like Tanuki, which rotates between several different bonuses). Stacking multiple pets with complementary abilities is where the real value comes from a single Raptor is nice, but several pets working together across your eight slots is what actually moves the needle on Sheckles per hour.
Egg Types in Grow a Garden
Nearly every pet traces back to a specific egg, and knowing which egg to buy is half the battle. The core progression runs from Common Egg and Uncommon Egg up through Rare Egg, Legendary Egg, and Mythical Egg, each offering a better shot at higher-rarity pets in exchange for a steeper Sheckle cost. Layered on top of that core line are specialty and event eggs the Bug Egg (home to the notoriously rare 1% Dragonfly pull), the Dinosaur Egg (Raptor, Triceratops, Stegosaurus, and the rest of the Prehistoric Event lineup), the Zen Egg (Tanuki and Tanchozuru), and the Paradise Egg, along with chest-based sources like the Kitsune Chest that produced Kodama.
The practical takeaway: don’t just buy whichever egg is cheapest or currently in the shop. Match the egg to the specific pet or trait you actually need, since a core-line egg and an event egg can offer completely different rosters even at a similar price point.
Pet Rarity Tiers Explained
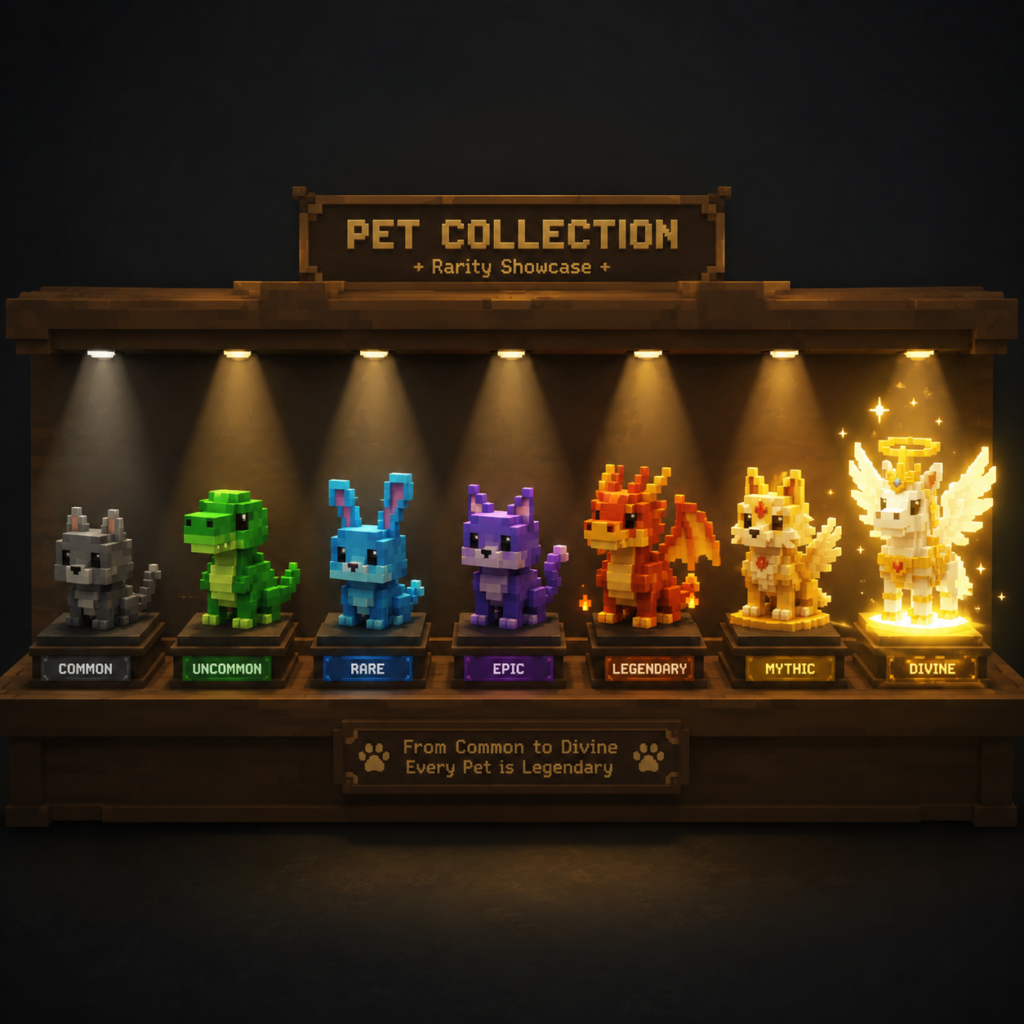
Grow a Garden sorts pets into rarity tiers that roughly predict both hatch difficulty and overall power level, though — just like with crops and trading — a lower-rarity pet with a genuinely strong ability can outperform a higher-rarity one with a weak or narrow use case.
| Rarity | General Strength |
| Common | Low |
| Uncommon | Low–Medium |
| Rare | Medium |
| Legendary | High |
| Mythical | Very High |
| Divine | Very High |
| Prismatic | Extreme |
Most of the pets covered in detail below sit in the Legendary tier, which is where a large share of the game’s most genuinely useful farming pets live — Legendary hits a sweet spot of being obtainable without needing the rarest possible egg, while still offering abilities strong enough to matter on an endgame farm. Prismatic became the game’s new ceiling tier as of the Valentine’s 2026 update, sitting above pets that were previously considered the absolute rarest obtainable — a reminder that this rarity ladder isn’t fixed forever, and new tiers can be introduced above the current top as the game keeps expanding.
It’s worth stressing again that rarity is a prediction of hatch difficulty, not a guarantee of usefulness. Some of the most consistently recommended pets in the game — Orangutan among them — sit in the middle of this table rather than at the top, precisely because a narrow but well-executed trait can outperform a rarer pet with a broader but weaker one.
Pet Weight, Age & Stats
This is the mechanic that quietly determines how strong your pet actually is, and it’s easy to miss if you’ve never dug into it. When you hatch an egg, the resulting pet is given a randomized starting weight. That number does two things: it sets the pet’s stats at age one, and it determines how much weight the pet gains every time it ages, since each age-up adds roughly one-eleventh of the pet’s original starting weight.
For most pets, higher weight directly strengthens the ability — shorter cooldowns, higher proc chances, or better output, depending on the pet. This is exactly why two pets of the same species can feel noticeably different in practice; one hatched with a high starting weight will simply outperform a same-species pet that hatched light, even at the same age.
There are exceptions worth knowing. Triceratops and Imp have constant stats regardless of weight, so there’s no benefit to chasing a heavy roll on either of them. Other pets, like Ostrich, hit a point where weight keeps climbing but the ability itself stops improving past a certain threshold, meaning extra weight beyond that cap is essentially wasted. Rarer Mega Pet variants also exist with meaningfully better baseline stats than a standard hatch, making them highly sought after when they show up.
(Pet Weight Calculator here — enter a pet’s current weight and age to see exactly how its stats compare to the average roll.)
Pet Mutations Explained
Don’t confuse this with crop mutations — Pet Mutations are a separate system entirely, added to the game to give veteran pets a further reason to stay useful. Once a pet reaches a level above 50, it becomes eligible to mutate, gaining a permanent effect on top of its normal ability. This gives long-term value to pets you’ve already invested heavily in leveling, rather than pushing players to constantly replace aged pets with fresh hatches.
Because mutating requires real level investment, a mutated pet is generally a strong signal in trading circles too — it shows the pet has been actively used and leveled, not just hatched and shelved. If you’re deciding which pets are worth the grind to level past 50, prioritize ones you already plan to keep equipped long-term, since the mutation effect only pays off on a pet that’s actually doing work in your garden.
(Pet XP Calculator see exactly how much experience your pet needs to reach level 50 and unlock mutation eligibility.)
Grow a Garden Pet Tier List: S-Tier to E-Tier Overview
Rarity tells you how hard a pet is to hatch. Tier lists tell you how much its trait actually matters once you have it — and the two don’t always line up. Here’s a snapshot of where the community consistently ranks pets, based on activation rate, output value, and how well each trait holds up over a long farming session.
S-Tier pets are the undisputed meta-definers. Kitsune and Corrupted Kitsune sit at the very top — the rarest pets in the game, capable of copying fruits and applying the Chakra mutation (roughly 15x) or, on the corrupted version, Foxfire Chakra (roughly 90x). Golden Goose can pop a Fortune eggplant, and selling its fruit grants the Fortune mutation to other random plants. Raccoon duplicates fruit or seeds directly from other players’ gardens — the same mechanic covered earlier for grabbing a Giant Pinecone or Moon Blossom without shop luck. Dragonfly turns a harvested fruit to Gold and is famous for being one of the hardest pulls in the game, at roughly a 1% chance from the Bug Egg. Disco Bee applies the Disco mutation, and T-Rex hands out high-value mutations to random plants directly.
A-Tier pets are a clear step below S-Tier but still genuinely strong. Capybara stands out here for a very different reason than the S-Tier pets — instead of boosting mutations or duplicating crops, it simply stops your other pets from going hungry and boosts their XP gain, which makes it one of the best “support” pets to pair alongside a mutation-focused lineup rather than a flashy standalone pick.
B and C-Tier pets cover a wide range of situational utility — this is where most of the pets profiled in detail below land, including Raptor, Tanuki, Stegosaurus, and Kodama. None of them define the meta the way an S-Tier pet does, but each fills a specific, genuinely useful role depending on what your farm needs.
E-Tier pets sit at the bottom, with traits too narrow or low-impact to justify a slot over almost anything else — Spotted Deer, which simply helps keep berries intact when harvested, and Bunny, which gives carrots a small value bonus, are typical examples. These aren’t “bad” pets so much as pets whose usefulness caps out extremely early.
( Pet Tier List tool filter by egg source, rarity, or farming goal to find the right pet for your setup.)
Best Grow a Garden Pets: Detailed Profiles
Orangutan
The Orangutan is a Rare pet released in the Summer Update, easily recognizable by its burnt-orange fur, ashy-gray face, and noticeably large arms. Its ability, Helping Hands, is a crafting-focused passive: each material used in crafting has roughly a 3.49% chance of not being consumed. That per-pet chance is capped at 7%, but since the effect stacks across multiple Orangutans, running a full set of eight pushes the maximum possible save rate up to 56%.
This makes the Orangutan one of the more specialized pets on this list — it doesn’t touch crop growth, mutations, or Sheckle income directly, but for players who craft heavily, the long-run savings on materials add up fast. It’s a strong pick specifically for crafting-focused accounts rather than a universal must-have.
Raptor
The Raptor is a Legendary pet from the Dinosaur Egg, released during the Prehistoric Event, and it’s the most common pull from that egg with a 35% hatch chance. It carries two separate passive abilities: Clever Claws, which gives roughly a 2.5–2.8% chance for harvested fruit to gain the Amber mutation (with rarer crops seeing slightly lower odds, offset a little as the Raptor levels up), and Raptor Dance, a flat passive that increases player movement speed by around 14–15% the entire time the Raptor is out.
What makes the Raptor genuinely valuable is scarcity of function — it’s one of only two pets in the game that can apply the Amber mutation, which makes it a target for both collectors and serious mutation-stackers rather than just a beginner dinosaur pet. Since mutations can’t be added after a fruit is harvested, pairing the Raptor with other mutation sources before collecting is the standard strategy for squeezing the most value out of every harvest.
Tanuki
The Tanuki is a Legendary, non-exclusive pet pulled from the Zen Egg with a 20.82% hatch chance. Modeled after the Japanese yōkai of the same name — and visually built on the Raccoon, since “tanuki” literally translates to “raccoon dog” — it’s one of the more chaotic, multi-effect pets in the game.
Its ability, Mischief, triggers roughly every ten minutes and rolls one of several outcomes each time: applying the Chilled, Choc, or Moonlit mutation to a random fruit, granting itself experience, advancing another equipped pet’s cooldown by 60 seconds, or handing the player a flat 300–1,000 Sheckles. That randomness is exactly what makes the Tanuki appealing for varied farm setups — instead of one narrow bonus, you get a rotating grab-bag of small benefits that touch mutations, Sheckles, XP, and even other pets’ cooldown timers.
Stegosaurus
The Stegosaurus is a Legendary pet from the Prehistoric Event, obtainable from either the Dinosaur Egg or the DNA Converter. Its design leans heavily into its real-world namesake, with a green body and rows of red plates running down its back.
Its ability is straightforward and effective: a small chance to duplicate any fruit you harvest, with the odds increased specifically for prehistoric-type plants. Unlike Raptor’s mutation-chance approach or Tanuki’s grab-bag, Stegosaurus works on pure output — every successful proc is literally a free extra harvest, which makes it a strong pick for players optimizing raw Sheckle income rather than chasing rare mutations.
Kodama & Corrupted Kodama

The Kodama is a Legendary pet added during the Corrupted Zen Event, pulled from the Kitsune Chest with a 14.5% chance. Based on the Japanese yōkai of the same name, it has a distinctive humanoid form with misaligned eyes and a skull-like wooden mask. Its ability grants roughly a 5% chance that zen-type fruit will receive the Tranquil mutation when harvested — a narrower, more specialized effect than some other pets on this list, since it only applies to zen-type crops specifically.
What makes Kodama especially notable is its status as one of only two pets in the entire game with a corrupted variant, the other being Kitsune itself. The Corrupted Kodama, earned through Corrupt Zen quests, functions similarly but flips the effect: it grants roughly a 4.22% chance for zen-type fruit to receive the Corrupt mutation instead of Tranquil. Between the two, Kodama and Corrupted Kodama share nearly identical mechanical roles, functioning much like a matched pair built around opposite ends of the same mutation system.
Triceratops (Bonus Dinosaur Egg Pick)

Since it shares an egg with Raptor and Stegosaurus, it’s worth covering Triceratops too. This Legendary pet has a 32.5% hatch chance from the Dinosaur Egg and is widely regarded as one of the strongest pure growth-speed pets in the Prehistoric lineup. Its ability, Tri-Horn, activates every 3 minutes and 33 seconds, charging into three random plants and advancing each one’s growth stage by 33 minutes and 33 seconds — with a 15.18% chance to trigger a second time immediately after, stacking the effect further.
Because its stats stay constant regardless of weight, Triceratops is refreshingly simple to evaluate there’s no chasing a “good roll,” since every Triceratops performs identically. That consistency, combined with how well it accelerates slow-yield crops, makes it one of the most reliably useful pets for players who spend a lot of time away from their farm.
Golden Goose
Golden Goose is one of the game’s genuine S-Tier pets, prized for a trait that snowballs rather than just paying out a flat bonus. It has a chance to cause a nearby eggplant to become a Fortune Eggplant, and once that happens, selling fruit from your garden carries a chance to spread the Fortune mutation onto other random plants nearby. In practice, this turns one lucky proc into a chain reaction across your farm rather than a single isolated payout, which is exactly why it’s consistently ranked alongside Kitsune and Raccoon at the top of most tier lists.
Because its value compounds the longer a session runs, Golden Goose rewards patient, AFK-style farming far more than short play sessions the real payoff shows up after the Fortune mutation has had time to spread across multiple harvests, not on the very first proc.
Capybara
Capybara isn’t flashy, and that’s precisely the point. Its trait keeps every other equipped pet from going hungry and boosts their XP gain while it’s active turning it from a standalone damage-dealer-style pet into pure support for the rest of your lineup. Paired with hunger-sensitive setups, or with pets you’re actively trying to level toward the 50+ threshold needed for Pet Mutations, Capybara effectively removes one of the most common maintenance headaches in the entire pet system.
This is why Capybara consistently lands in A-Tier despite not touching mutations, duplication, or growth speed at all it doesn’t need to. Keeping your S-Tier pets fed and fully productive around the clock is worth more over a long session than most standalone traits could add on their own.
Feeding, Roaming & Keeping Pets Active
Equipped pets don’t just sit still they roam freely around your garden, which is purely cosmetic but a handy visual cue that a pet is actually active rather than idle. The real maintenance concern is hunger. Every pet’s ability pauses the moment its hunger meter empties, and since abilities like Raptor’s Amber proc or Tanuki’s Mischief roll are only checked while a pet is actively fed, an unnoticed empty hunger bar quietly costs you mutation chances and Sheckles the entire time it goes unfixed.
This is exactly the gap Capybara fills for players running a large, mutation-heavy lineup — rather than manually topping off every pet’s hunger bar throughout a long session, one well-placed Capybara keeps the whole team topped off automatically. For players without one yet, setting a reminder to check hunger levels every hour or so during active farming sessions is the next best habit to build.
A few names get searched right alongside pets constantly, even though they’re actually crops, not pets. Here’s what each one really is, so you’re not hunting for an egg that doesn’t exist.
Cantaloupe
Cantaloupe is an exclusive Legendary crop added during the Summer Harvest Event, classified as a Summer, Leafy, and Fruit type. Visually it resembles a Watermelon or Pumpkin but in a lighter green cube shape, and each plant produces up to two cantaloupes per harvest. It’s primarily tied to the Summer Harvest Event’s availability window, so if you don’t have one yet, keep an eye out the next time that event returns.
Giant Pinecone
Giant Pinecone is a Prismatic-tier crop — the game’s highest standard rarity — available in the regular Seed Shop for 55,000,000 Sheckles, though its stock chance sits well under 1%, making it one of the hardest seeds to catch restocking. It’s a multi-harvest plant capable of producing up to five fruits per cycle, with a base unmutated value of roughly 65,000 Sheckles per fruit. Beyond buying it outright, two pets can help you get one without needing the seed shop luck: a Raccoon, which can duplicate a fruit from another player’s garden if they already have Giant Pinecone planted, and a Red Fox, which can duplicate a seed from another player’s garden roughly every eight minutes.
Moon Blossom (and Duplicating It)
Moon Blossom is a limited, multi-harvest Divine-tier crop, originally added during the Lunar Glow Event and later brought back during the Summer Harvest Event. Despite its high rarity tier, it’s generally considered one of the weaker Divine crops in practice, due to relatively low size variation and a modest base value compared to other crops at the same tier.
This is also where the “dupe” question people search for actually comes from. There’s no exploit involved — the legitimate way to effectively duplicate a Moon Blossom is the same Raccoon and Red Fox pet mechanic described above for Giant Pinecone: a Raccoon can copy a fruit from another player’s already-planted Moon Blossom, and a Red Fox can periodically copy the seed itself. If you’re trying to stack multiple Moon Blossoms without pure shop-restock luck, these two pets are the actual answer.
How to Get the Best Pets Faster
Focus egg choice around what your farm actually needs rather than chasing the flashiest pet name. If your bottleneck is crafting materials, an Orangutan pays off faster than a mutation-chance pet ever will. If you’re mostly offline and need passive growth, Triceratops or a similar growth-speed pet does more for you than a duplication-focused one.
Pay attention to event timing. Several of the pets covered above — Raptor, Stegosaurus, Triceratops, Kodama were tied to specific limited-time events (the Prehistoric Event and the Zen/Corrupted Zen Events respectively). Missing an event window can mean waiting months for a rerun, so if a pet from an active event fits your farm’s needs, it’s usually worth prioritizing while it’s actually available.
Watch community tier lists, but verify against your own goals. A pet ranked S-Tier for general farming efficiency isn’t automatically the right choice if your actual bottleneck is crafting materials or a specific crop type — cross-check any tier list recommendation against the trait breakdown, not just the letter grade.
Don’t sleep on weight when hatching. Since starting weight determines both a pet’s initial stats and how much it gains per age-up, a pet you plan to keep long-term is worth checking against a weight calculator early, rather than discovering at age eight that you hatched a below-average roll.
Build around synergy, not just individual power. A single S-Tier pet is strong, but a lineup where a support pet like Capybara keeps everything fed while two or three mutation-focused pets like Raptor or Golden Goose stay active nonstop consistently outperforms eight standalone pets working in isolation. Think about your eight slots as a team composition rather than eight separate lottery tickets.
Pets and Trading Value
Pets don’t just power your farm — they’re also a core part of the trading economy covered elsewhere on this site. A pet’s trading value is shaped by the same rarity and demand factors that apply to crops, plus two pet-specific details: current weight and whether it’s been mutated. A heavier, mutated Kodama is simply a different (and more valuable) trade item than a freshly hatched, unmutated one, even though they’re technically the same pet. Before trading away or accepting any pet, running it through a dedicated trade or weight calculator is worth the extra few seconds, for the same reasons it matters with crops and fruit.
Tier list ranking and trading value don’t always move together, either. A pet can sit in S-Tier for pure farming output while trading for less than a lower-tier pet that happens to be tied to a permanently unobtainable event — scarcity and current demand often outweigh raw usefulness once a pet becomes tradeable. This is exactly why serious traders check both a tier list and a live value calculator before finalizing a deal, rather than assuming the “best” pet on paper is automatically the most valuable one to trade for.
Common Pet Mistakes to Avoid
Letting a strong pet’s hunger meter hit zero is the most common and most avoidable mistake — an unfed pet simply stops contributing, silently, until you notice. Ignoring weight is a close second; two pets of the same species are not interchangeable, and treating them as such means potentially benching your best roll in favor of a weaker one. Chasing rarity alone is another trap — a Legendary or Divine pet with a narrow, situational ability can genuinely underperform a well-suited Rare pet like Orangutan if it doesn’t match what your farm actually needs. Don’t ignore pet mutations once a pet clears level 50 — letting a heavily leveled pet sit unmutated leaves a permanent bonus on the table for no real reason. And don’t overlook advanced systems like Pet Ascension, a late-game progression layer that lets committed players push a pet’s stats further once it’s already maxed out through normal aging — worth investigating once you have a pet you’re certain you want to keep permanently, but not something to chase before you’ve settled on your core lineup.
Finally, resist the urge to constantly chase whatever pet is trending in trading circles that week. Trading demand shifts fast, but what actually helps your farm — the right mix of mutation boosters, growth accelerators, and support pets like Capybara — stays fairly stable. Build for your farm first, and let trading value be a secondary consideration rather than the thing driving every hatch decision.

Frequently Asked Questions
How many pet slots do I start with in Grow a Garden? Three, expandable up to eight total slots as you progress through the game.
What determines how strong a pet’s ability is? Mostly its weight, which is randomized at hatch and increases by roughly one-eleventh of the starting amount each time the pet ages — though a few pets, like Triceratops and Imp, have fixed stats regardless of weight.
What are Pet Mutations, and how are they different from crop mutations? Pet Mutations are a separate system that lets pets above level 50 gain a permanent additional effect, unrelated to the mutation system that affects crops.
Is the Raptor worth getting? Yes, especially for mutation-focused players — it’s one of only two pets in the game that can apply the Amber mutation, alongside its passive movement speed boost.
What does the Tanuki actually do? Roughly every ten minutes it randomly triggers one of several effects: a crop mutation, bonus XP for itself, a cooldown boost for another pet, or a flat Sheckle payout.
Is Cantaloupe a pet or a crop? A crop — specifically an exclusive Legendary crop tied to the Summer Harvest Event, not a pet you can hatch.
How do I get more Giant Pinecones or Moon Blossoms without shop luck? A Raccoon can duplicate a fruit from another player’s already-planted crop, and a Red Fox can periodically duplicate the seed itself — both are the legitimate in-game route people mean when they ask about “duping” these crops.
What’s the difference between Kodama and Corrupted Kodama? Kodama grants a chance for the Tranquil mutation on zen-type fruit; Corrupted Kodama grants a similar chance for the Corrupt mutation instead. They’re one of only two matched pairs of regular and corrupted pets in the game, alongside Kitsune and Corrupted Kitsune.
Do heavier pets trade for more? Generally yes — weight and mutation status both affect a pet’s trading value on top of its base rarity and demand, similar to how mutations affect crop trading value.
How many total pets are in Grow a Garden? Over 120 unique pets, spread across the core egg line, event eggs, and chest rewards, with new ones added alongside major updates.
What’s the difference between a pet’s rarity and its tier list ranking? Rarity reflects how hard a pet is to hatch; tier ranking reflects how useful its trait actually is once you have it. The two frequently don’t match — some Rare pets like Orangutan outperform certain Legendary or Mythical pets for specific goals.
Which egg should I buy first? Match the egg to the trait you need rather than the flashiest pet in its pool. A core-line egg like Legendary Egg is a safer general-purpose buy, while event eggs like Dinosaur or Zen Egg are worth prioritizing only while they’re actually in season.
Can I still get Raptor, Stegosaurus, or Triceratops if the Prehistoric Event isn’t active? Once hatched, all three remain usable permanently — it’s only the egg’s availability that’s tied to the event window, not the pets themselves after you own them.
Does a pet’s ability stop working if I don’t feed it? Yes — once a pet’s hunger meter empties, its trait stops triggering entirely until it’s fed again, which makes hunger management one of the most overlooked parts of optimizing a farm.
Build Your Perfect Grow a Garden Pets Lineup
Check your pet’s exact weight, XP progress, and trading value before your next hatch, trade, or level-up push — a few seconds with the right calculator beats guessing every time on your Grow a Garden pets.